Overview
Email Campaigns are used manage inbound emails usually from a centralised inbox. Email campaigns in ipSCAPE can help your organisation effectively distribute and queue emails to available agents who are able to respond quickly using templates.
The details of the mailbox from which the emails are retrieved, and sent, are defined in Email Channels.
The purpose of Email Campaigns is to provide a destination for these emails, which will be automatically delivered to the email channels based on the email filters defined in the email channel.
All Email Records can be viewed in emails.
1. Add an Email Campaign
This feature allows you to create and maintain email campaigns.
-
Open the Workspace
-
Select Configuration from the Campaigns menu
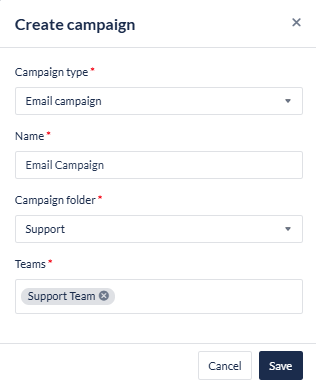
a. To add a new campaign:
*-
Click Create Campaign
-
Select the Inbound campaign from the drop-down selection list
-
Click Create. The Campaign Configuration wizard opens
-
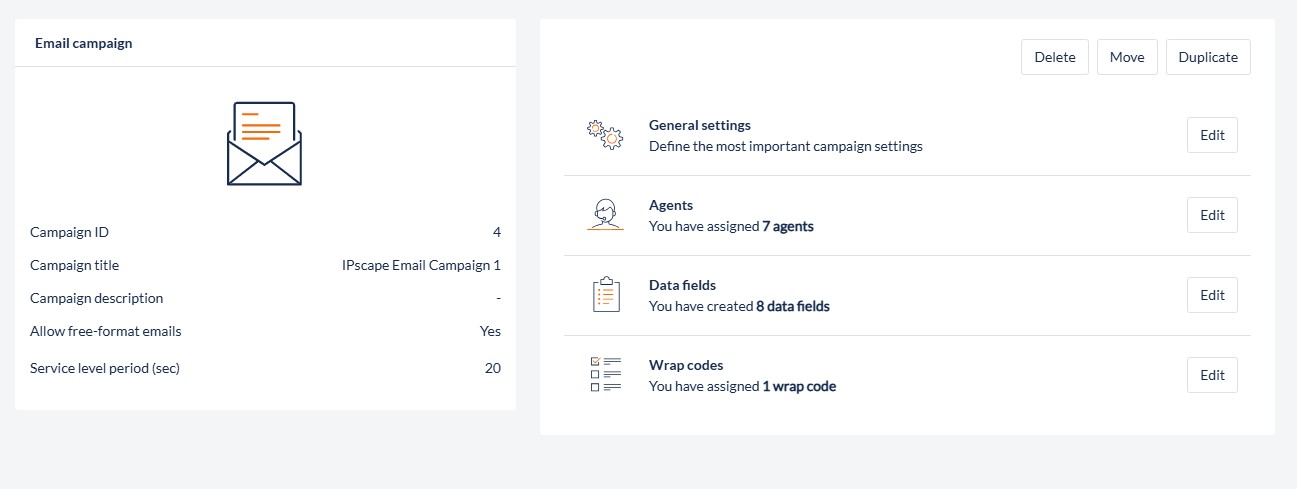
To edit an existing campaign:
-
Select the campaign you wish to edit
-
Click Edit next to General Settings
-
-
-
Enter the Campaign Details as described in the tables below
-
Click Next to progress through the wizard when creating a new campaign, or click Save for any changes to an existing campaign
The fields that need to be defined in an email campaign are:
General Settings
|
Field Name |
Description |
|---|---|
|
Campaign Title (required) |
Enter a meaningful name for the campaign. |
|
Campaign Description |
Enter the description of the campaign. |
|
Teams (required) |
Select the pre-existing teams which are to be assigned to the campaign |
|
Campaign folder |
Select a Campaign Group from the drop-down selection list. |
|
Allow to move to same campaign |
Click this checkbox if you want to allow agents to transfer an email to the currently assigned campaign |
|
Allow to move to another campaign |
Click this checkbox if you want to allow agents to transfer an email to another campaign |
Emails
|
Field Name |
Description |
|---|---|
|
Email Channel |
Use the drop-down selection list to nominate the email channel that this campaign will use. The first option in the list is the Organisation Default Email Campaign, which is set in the Settings section in Administration. |
|
Email Templates |
Select or edit a pre-configured templates to use for this campaign. The following options are provided for any templates added:
|
Service Level
|
Service Level Period (required) |
Input the period, in seconds, against which the Service Level metric for this campaign is calculated. For example, if the target Service Level is "80% of emails answered within 180 seconds", then the Service Level Period is 180 seconds. |
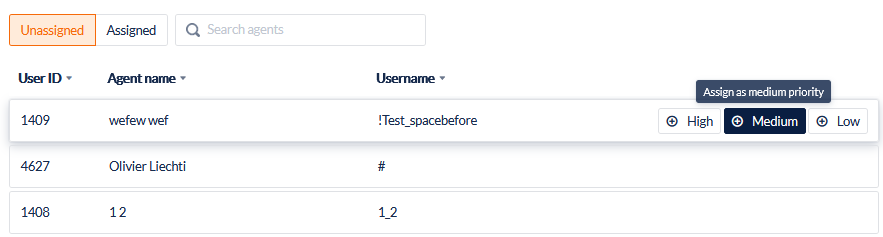
2. Agents
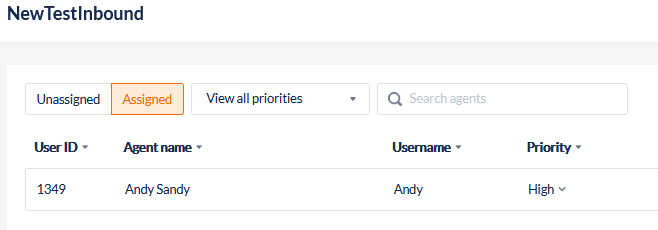
-
To assign agents to a campaign, select Unassigned to show all agents that can be assigned to the campaign
-
Next to the agent to be assigned, select a priority from Low to High to assign
-
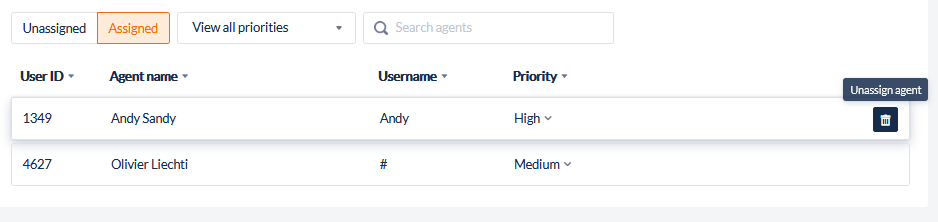
To unassign agents from a campaign, select Assigned to show all agents currently assigned to the campaign
-
Next to the agent to be removed, click the Unassign agent icon
3. Data Fields
There are 3 core Activity Fields in an email campaign, which are mainly used when replying to an email and for reporting purposes. No additional Datafields are required.
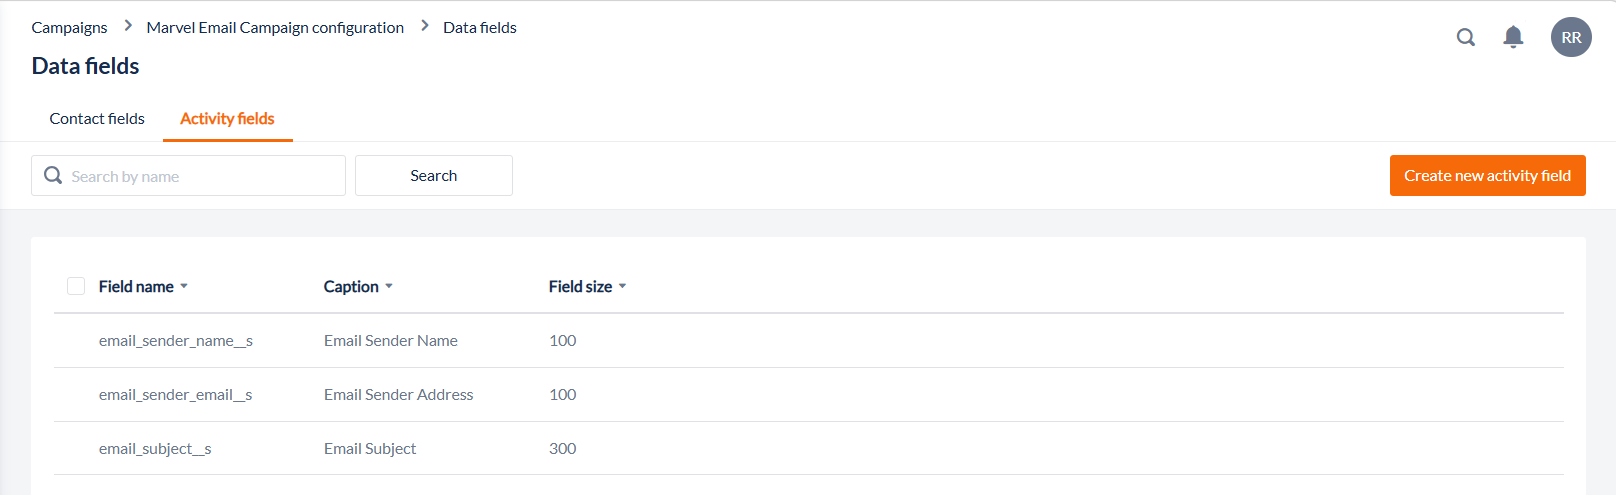
See Campaign Data Fields for more information
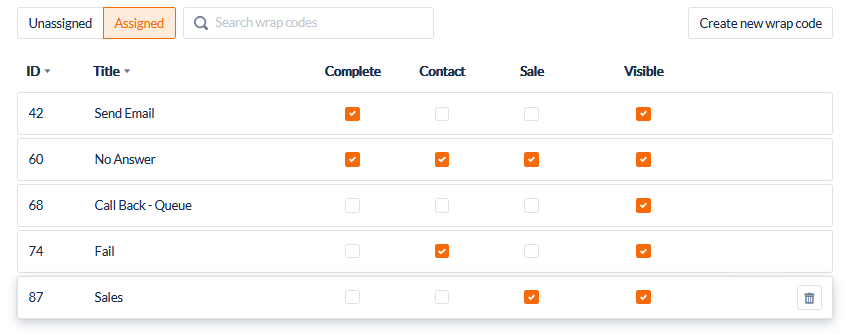
5. Wrap Codes
This dialog allows you to edit the list of wrap codes that an agent can access when wrapping an interaction with a contact for the selected campaign.
-
Click the Unassigned button to show all wrap codes available to be assigned.
-
Locate the wrap code from the list or by the search function to assign and click the Assign wrap code icon
-
To remove a wrap code, click the Assigned button to show all assigned wrap codes and click the Unassign wrap code icon next to the wrap code