
Migrating Users and Agents to Okta via SCIM from IPscape
1. Prerequisites
Before migrating Users and Agents to Okta via SCIM from your IPscape Workspace, the are a few prerequisites to understand.
Users and Agents with the same email in IPscape will be merged into 1 people account in Okta.
All Accounts between IPscape and Okta via SCIM will be linked via their Email address
The process below will assist migrating existing Users and Agents from IPscape to Okta via SCIM.
2. Migration process
Review all of the Agent and Users in IPscape to ensure they are all set with the correct attributes below:
Type | Attribute |
|---|---|
Agents | Email, Team, Campaigns, Time zone |
Users | Email, User Role, Team, Time zone |
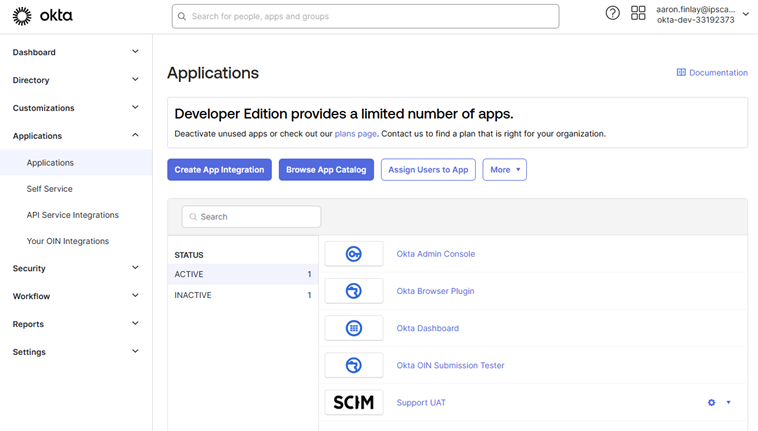
Open your Okta admin environment and under the Applications menu select Applications then your SCIM App.
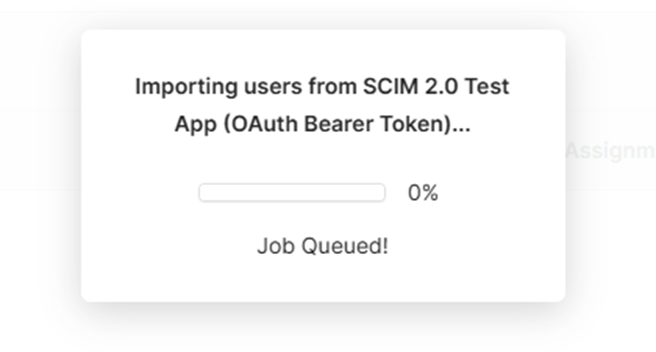
Select the “Import” tab then select “Import Now”. This process may take some time as the import process will import all Users and Agents, Active and inactive.
You will see the below screen while the Users and Agents are scanned for import
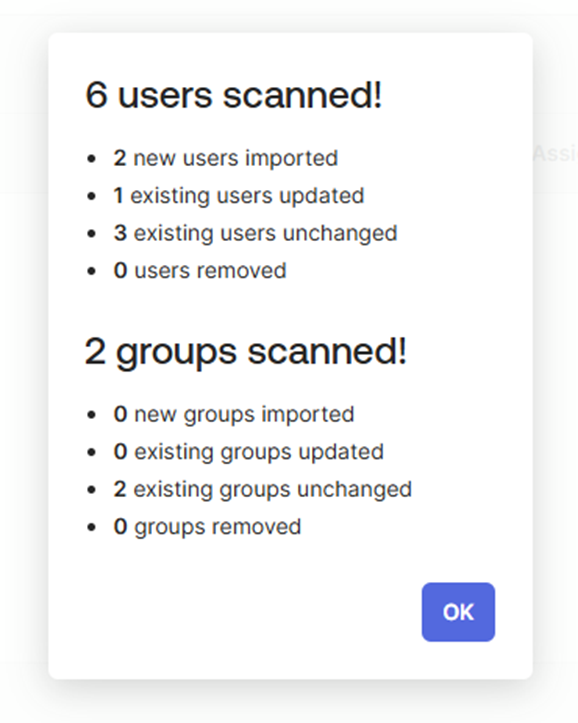
Followed by the below screen once the import process has been completed. Select OK
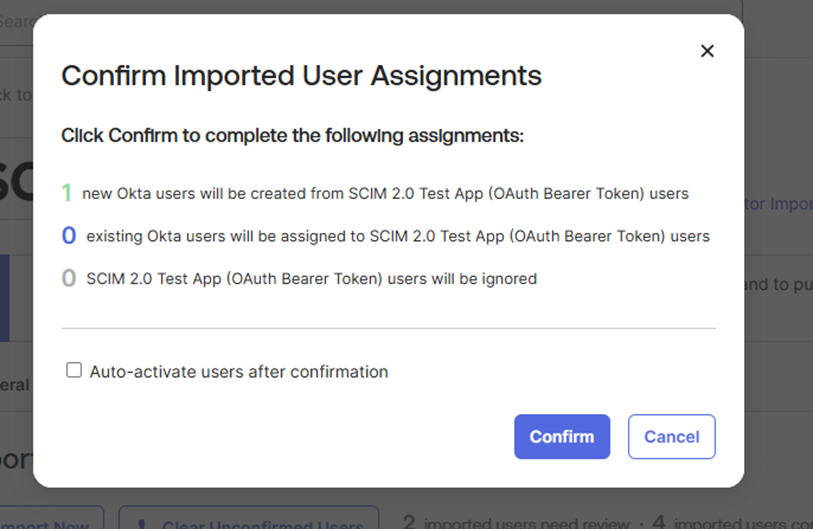
Next, confirm all of Users that have been imported and then select the tickbox next to each User / Agent you want to confirm. Then “Select Confirm Assignments” and confirm the assignments:
You can then select the Assignments tab and Edit the People to review the assignment to ensure it is correct

For the Teams you have migrated across to Groups, under the Directory menu, select Groups. Hear you will see the Groups you migrated across however they haven’t been created as Okta Groups in full yet.
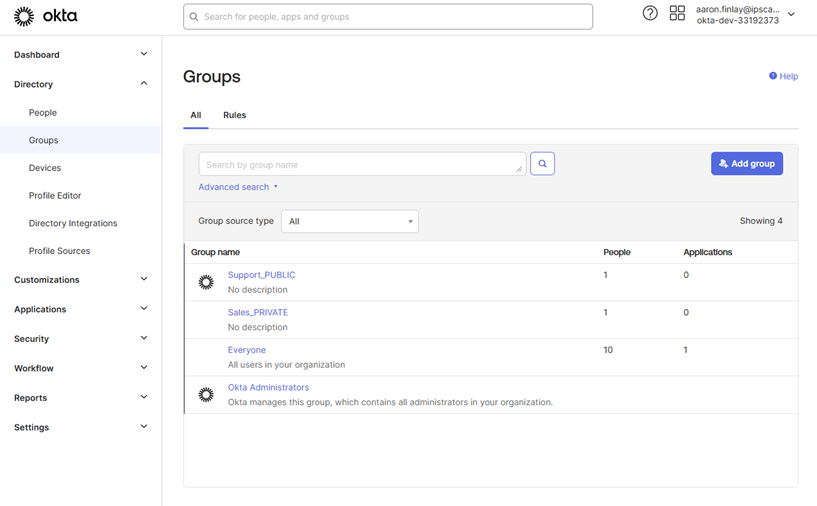
Select “Add Group” and name it the same as the Groups you imported.

Once created, under the Applications menu select Applications then select the Push Groups tab.
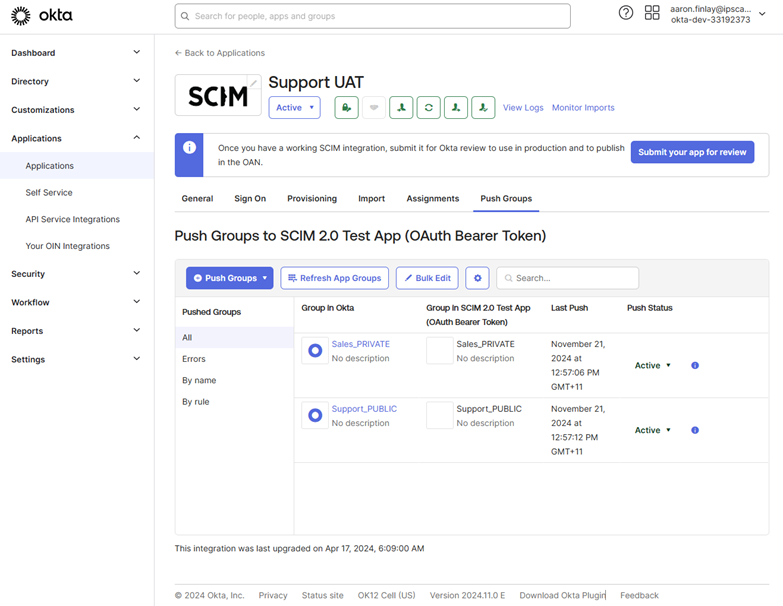
Select the “Push Groups” button then “Find Groups by Name”. Enter in the Name of the Group you want to push and select “Push group memberships immediately”.
Now when assigning groups in Okta or making changes to the assignments in Okta ipSCAPE will be updated.